
The short answer
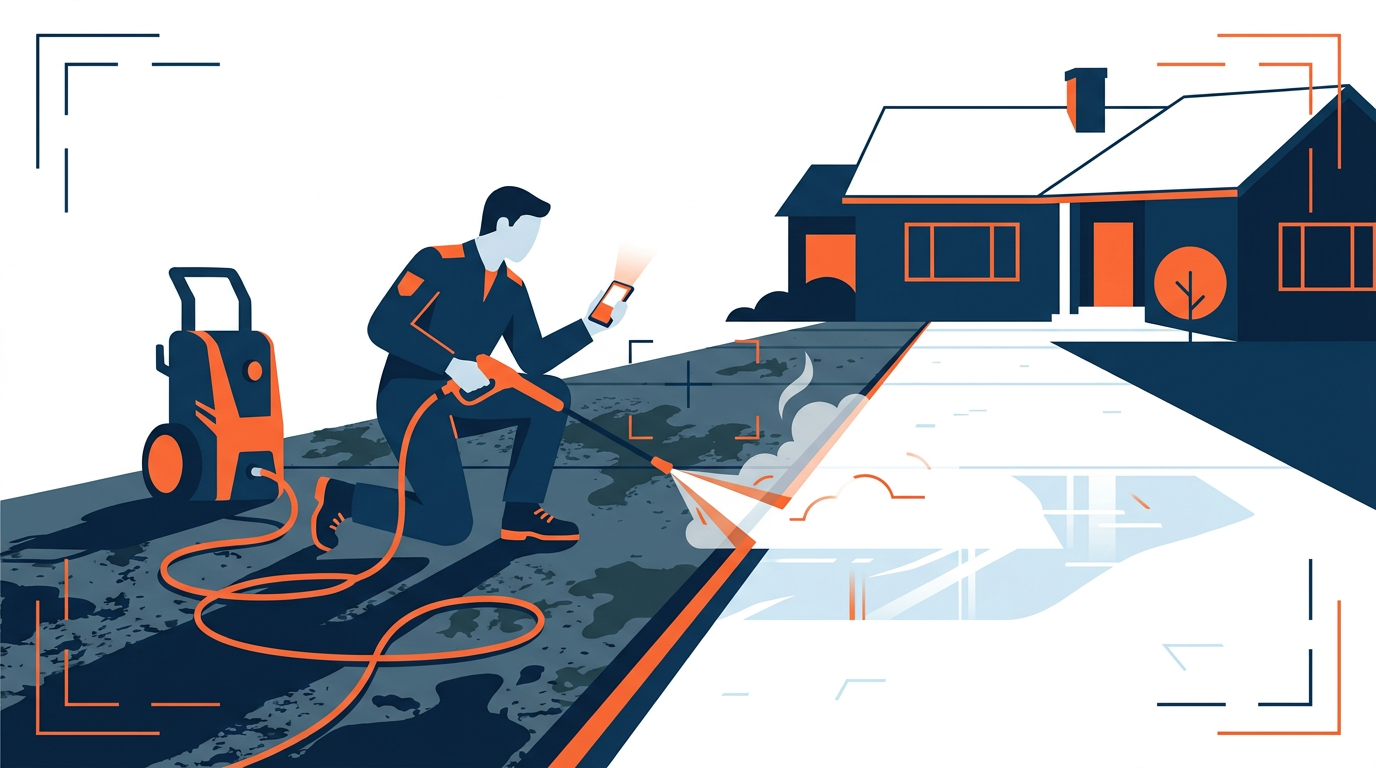
Take pressure washing before and after photos from the same position, height, angle, zoom, and general lighting. Start with one wide shot, add two or three close details, clean the property, then repeat every frame after the work. Do not use filters, hide stains, or photograph only the easiest section. A repeatable eight-step process gives you honest proof that homeowners can understand within seconds and gives you useful material for estimates, your website, and your Google Business Profile.
Key takeaways
- Match the camera position, height, angle, zoom, and orientation in both photos.
- Capture one wide property view and two or three close details before starting work.
- Remove hoses, surface cleaners, trash, and chemical containers before the final shot.
- Use natural edits only, never filters or adjustments that misrepresent the result.
- Save the best matched pair by service, surface, and neighborhood for fast reuse.
1. Build a five-shot list before you unload
Choose five planned frames before pulling hose. A useful basic set is one wide property view, one medium service-area view, and three close details.
Walk the job with the customer when practical. Identify what bothers them most, such as dark concrete, algae on siding, stained steps, or a dirty entrance. Photograph those concerns instead of choosing only areas that make your work look easy.
Keep your phone lens clean and use its standard camera mode. Pick one orientation for each pair, usually vertical for social posts and horizontal for website pages. If you want both, take both before work begins rather than cropping one file later.
Your shot list should follow the service being sold. House-wash proof should show siding and trim clearly. Driveway proof should include the full slab plus close views near joints, edges, and the garage entrance.
When you need service-specific sales material, review How Much to Charge for House Washing and How Much to Charge for Driveway and Concrete Cleaning. Those pages help you connect the visual result to the exact service quoted.
2. Lock the before-photo position and camera settings
Stand where you can safely capture the complete work area, then record that exact position. Use a fixed landmark, such as a driveway joint, porch corner, gate post, or sidewalk seam.
Hold the phone around the same height for every matching frame. Keep the horizon level, avoid digital zoom, and leave enough room around the subject to make later cropping possible.
Take a quick reference photo of your feet beside the landmark if the location is hard to remember. You can delete it after taking the matching final frame.
Do not take a dramatic low-angle before picture and a straight-on after picture. The job may be excellent, but that mismatch makes the proof harder to trust.
Light also changes how a surface looks. You cannot always finish under identical conditions, but avoid placing one frame in deep shade and the other in harsh direct light when you can wait or change the schedule slightly.
3. Photograph the complete condition before cleaning
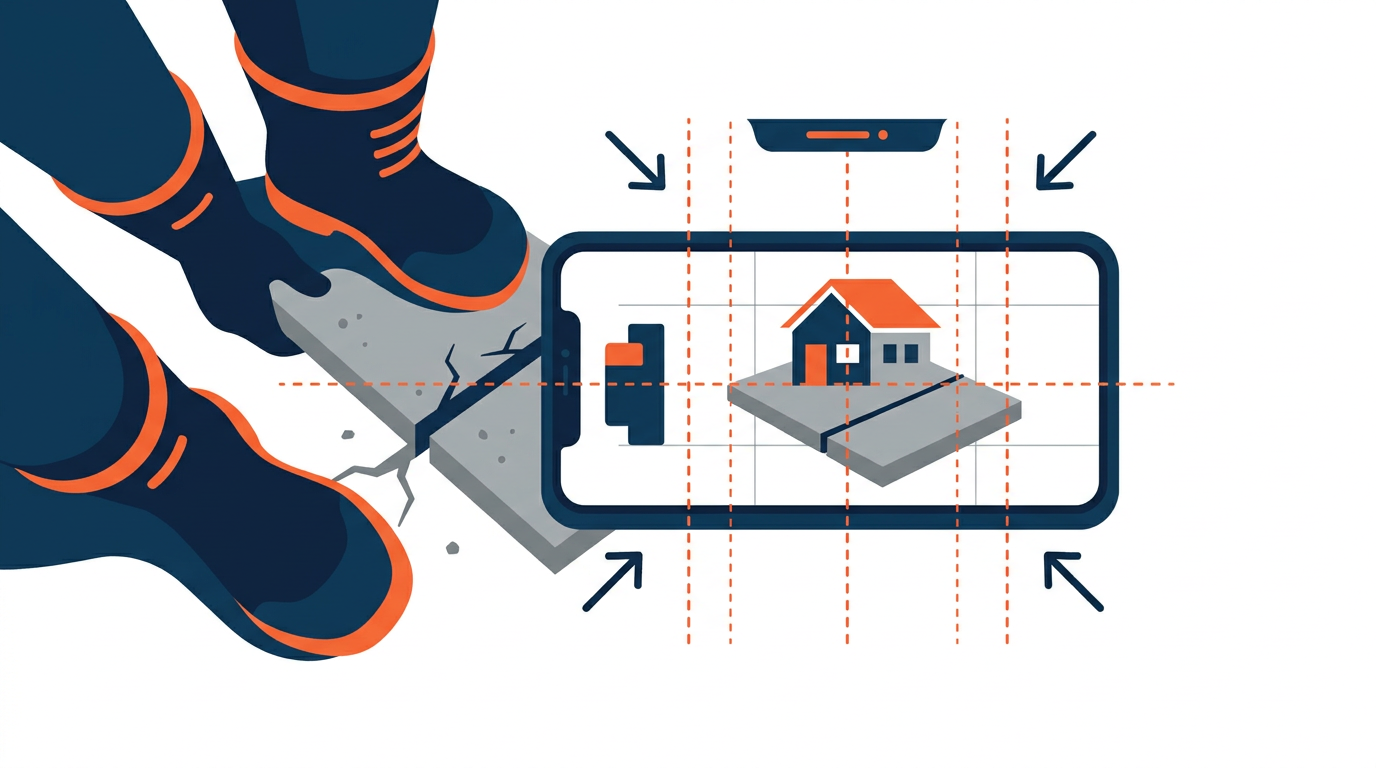
Show the full starting condition before moving furniture, wetting surfaces, or applying chemicals. Then take detail shots of the customer’s main concerns and any existing damage.
For concrete, capture the whole driveway and details around stains, expansion joints, curbs, and edges. For siding, include a full elevation and closer views where growth or discoloration is visible. For roofs, stay on safe ground and use an angle that shows the affected plane without putting yourself in a dangerous position.
Do not hide cracks, oxidation, paint failure, rust, or permanent staining. A before photo should document what was present, not promise that every mark will disappear.
Keep people, vehicle plates, house numbers, and neighboring property out of the frame when possible. Ask the property owner before using recognizable property images in public marketing.
If roof work is part of your offer, How Much to Charge for Roof Soft Washing can help you keep the photo set aligned with the scope being priced.
4. Repeat every frame after the surface is ready
Return to each marked position and recreate the before photo as closely as possible. Match orientation, height, angle, framing, focal length, and general lighting.
Wait until the result shown is fair. Wet concrete can appear darker or more uniform than dry concrete, while pooled water can hide remaining dirt. If the finish changes as it dries, take a second after set later.
Use the before image on your screen as a reference. Match fixed points at the frame edges, such as rooflines, doors, fence posts, and slab corners. This is faster and more accurate than guessing from memory.
Take two or three versions from the same position. Small differences in focus, glare, or passing shadows can ruin the only frame you captured.
The strongest pair lets the work create the contrast. You should not need a tilted frame, exaggerated saturation, or a different camera angle to make the improvement obvious.
5. Clear the jobsite before taking the final photos
Remove your equipment and restore the property before taking the final marketing frames. A clean result surrounded by hose, fuel cans, trash, and open gates looks unfinished.
Coil hoses, move the surface cleaner, collect tape and plastic, and close doors or gates you opened. Return lightweight furniture only when it is safe and appropriate. Do not cover a missed spot with a trash can, vehicle, or plant.
Check the edges of the frame before shooting. Look for your reflection in windows, chemical containers near the trailer, workers in the background, and personal items that distract from the result.
Photograph the same customer concern you documented first. If the entrance was their priority, make the entrance pair the lead image rather than choosing a remote section with stronger contrast.
Good photos support the estimate, but they do not replace sound numbers. Use the Pressure Washing Pricing Calculator when you need to check labor, production, and service pricing before sending the quote.
6. Edit for clarity without changing the result
Limit editing to straightening, matching crops, and minor exposure or color correction. The finished files should resemble what a customer would have seen standing at the property.
Apply similar adjustments to both frames. Do not darken the before photo, brighten only the after photo, remove permanent stains, replace skies, or use filters that change surface color.
Crop the pair to matching dimensions and keep the subject in the same place. Side-by-side images work when each frame remains large enough to understand. Separate full-size images can work better on service pages where surface detail matters.
Save an original copy before editing. Originals give you a clean record if you crop the wrong file or need another format later.
Use descriptive file names that identify the service and surface without exposing customer details. A simple structure such as house-wash-vinyl-siding-before and house-wash-vinyl-siding-after makes the files easier to find.
7. Publish each photo pair where buyers check your work
Place matched pairs on the service page that describes the same work, then add selected images to your Google listing and estimate follow-ups. Relevance matters more than dumping every job into one gallery.
A driveway pair belongs beside driveway cleaning information. A siding pair should support the house-washing page. This helps a buyer connect the visual proof with the service they are considering.
Use your Google Business Profile to publish current work where local customers may find your company. Follow a consistent setup and posting process with this Google Business Profile Setup for Pressure Washers guide.
Add a short factual caption naming the surface and service. Avoid claiming a stain was removed when it was only reduced, and do not name the customer or publish their address.
Your website should make these photos easy to view on a phone. If the gallery is cramped, slow, or disconnected from your services, review Do You Really Need a $3,000 Pressure Washing Website? before paying for features you may not need.
8. Avoid the common photo mistakes that weaken trust
The biggest mistakes are mismatched angles, wet-only after shots, cluttered scenes, heavy editing, and missing detail photos. Fix them with a written checklist attached to every job record.
Do not rely on one picture. Motion blur, glare, water on the lens, or a parked vehicle can make that file unusable. Capture several versions of every planned frame.
Do not make a collage so crowded that the customer cannot identify the improvement. One strong matched pair usually communicates more clearly than many tiny images.
Do not use only extreme transformations. Keep examples of routine siding, walkways, patios, entrances, and small commercial areas because buyers want proof that matches their own property.
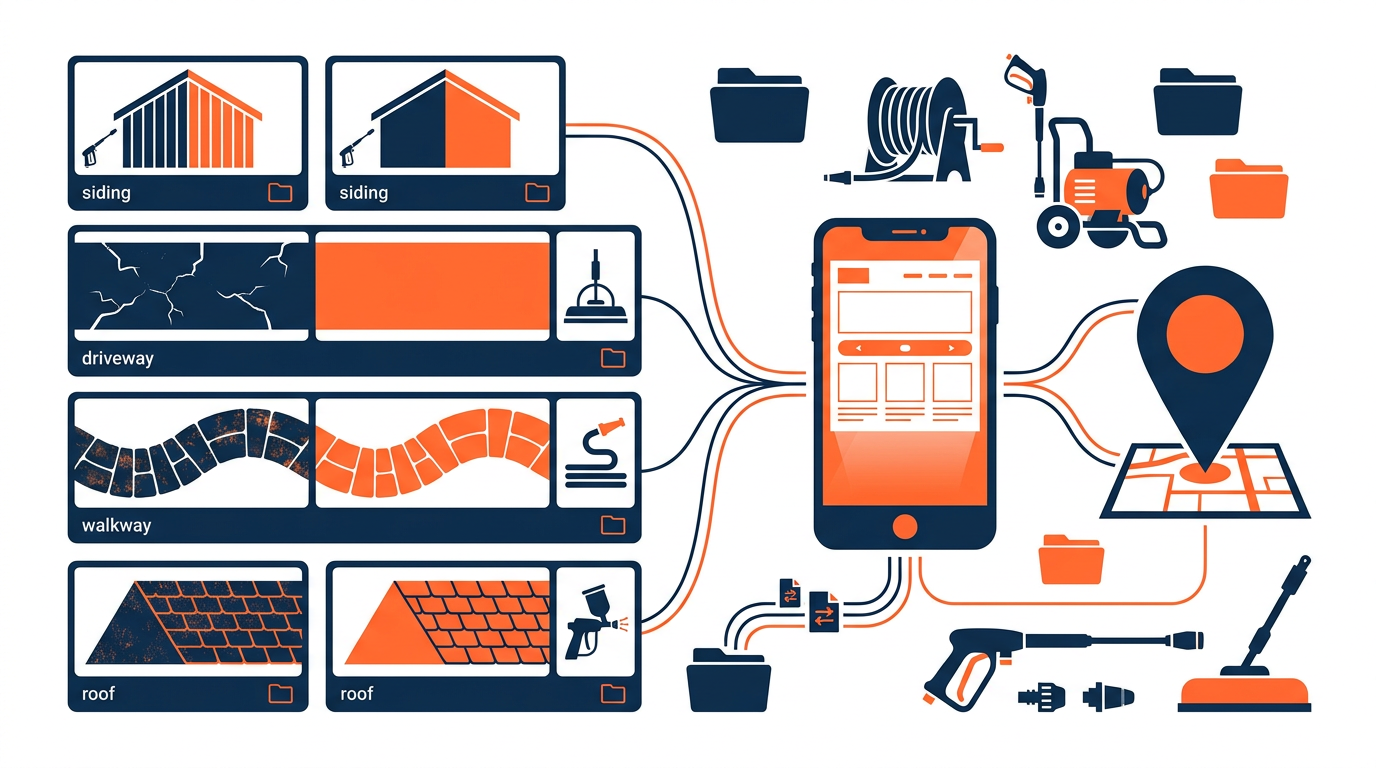
Finally, do not leave the files scattered across phones and text threads. Create folders by service, surface, and general area, then mark the best pairs for your website and estimates. If you need a site that organizes those images around clear service pages, you can Get a WasherAuthority website.
Frequently asked questions
Should pressure washing after photos show a wet or dry surface?
Use a dry after photo when drying changes the appearance. If timing prevents that, take the immediate photo and return for a dry image when practical.
Should I put before and after photos side by side?
Yes, when both frames remain large and clear. On small screens, separate full-width images may show surface detail better than a tight collage.
Can I edit pressure washing before and after photos?
Use light edits for straightening, matching crops, and accurate exposure. Do not remove stains, alter surface colors, or make unequal changes that exaggerate results.
How many photos should I take at each pressure washing job?
Plan at least five matched views, including one wide view, one medium view, and three details. Take multiple versions of each view in case one is blurred or blocked.
Where should I post pressure washing before and after photos?
Post them on the matching website service page, your Google Business Profile, selected social channels, and estimate follow-ups where they support the service being discussed.
Need a website that turns these searches into calls?
We build done-for-you sites for pressure washing contractors. A one time build fee, then $29/month for hosting, your domain, backups and unlimited edits.
Get Your Free Mockup